Paving stones: from concept to completion
Are you planning to lay paving stones? It's a decision you won't regret! However, before the first pieces hit your driveway or patio, there are some important decisions to be made, and with this article we'll walk you through the process step by step. So, let's get started, shall we?
Step 1: Planning
Measurements
Before you visit a BRUK SA Authorized Dealer, it's a good idea to take the first step yourself. We are, of course, talking about measurements. You don't need specialized equipment or expertise for this. All you need is a tape measure, a notebook and a camera on your phone.
Start by measuring the length and width of the area you plan to pave: driveway, terrace, garden paths, etc. Also write down the dimensions of landmarks, such as stairs or pillars. Pay attention to manholes or utility outlets - these are important elements that will have to be aesthetically encased in pavers later.
It's a good idea to take some photos with your phone. Photograph not only the area itself to be paved, but also the immediate surroundings - the facade of the house, the garden, existing landscaping elements. These photos will be an invaluable help when choosing pavers and planning their layout. Don't worry if the terrain is not perfectly rectangular or there are level differences. This is completely normal!
A visit to an Authorized Point
With basic dimensions and photo documentation, visit an Authorized BRUK SA Dealer (you can find the list here). Experienced consultants will help you plan everything so that the end result is beautiful and functional. At Authorized Points you will also see pavers in actual colors and formats on displays, as well as finished arrangements.
Determine the needs and functions of the pavement
It is extremely important to determine where the paving will be laid. After all, different parameters will be required on the terrace or garden path (here the thickness of 4-6 cm is sufficient), others on the driveway for cars (6-8 cm), and others where heavier vehicles move (8-10 cm).
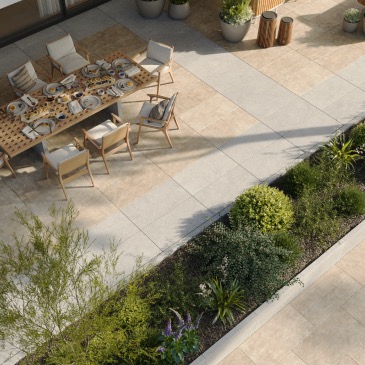
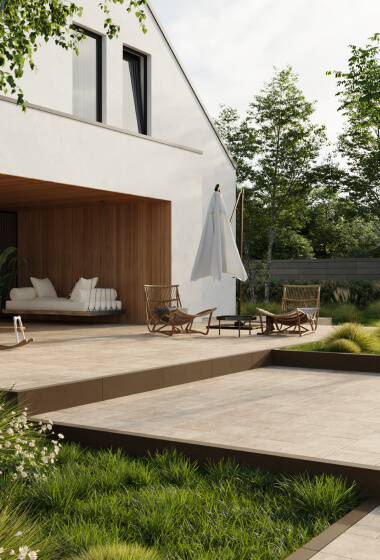
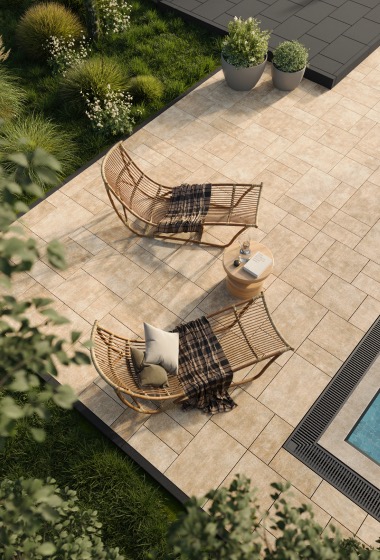
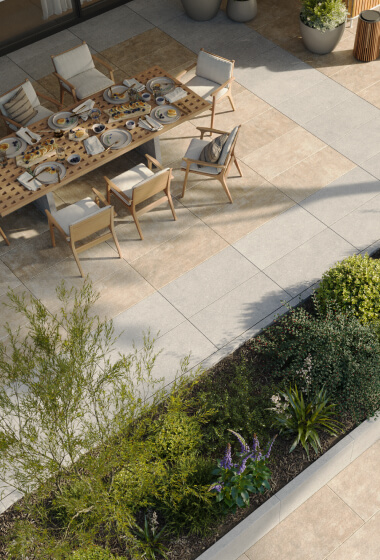
At this stage there is often a dilemma: design or functionality? Happily, all BRUK SA products are distinguished by elegant design and excellent performance. Of course, the accents in individual collections can be distributed differently. And so, for example, in recreational spaces such as a terrace or garden, it is worth emphasizing aesthetic qualities. This will be helped, for example, by the line COMO - Synonymous with Italian elegance, available in three formats and a wide range of colors. With its delicate microphase, it allows you to create sophisticated compositions in any style.
Where practicality matters - on driveways or under grills - it is worth considering more functional solutions. A great example is, for example. PORTILLO - The cube is trapezoidal in shape, ideal for difficult surfaces and areas with irregular relief. Its textured surface increases the safety of use.
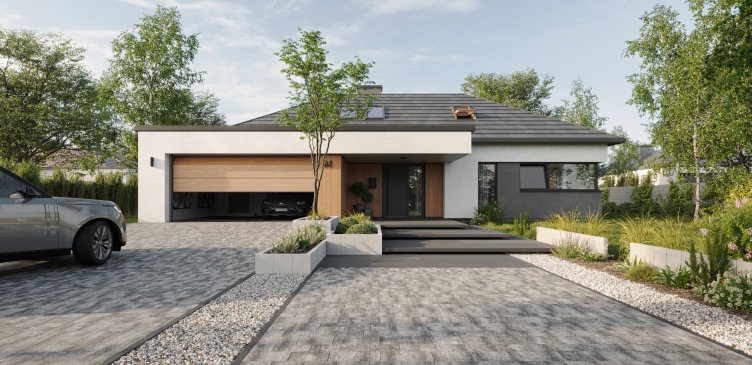
Match the style to the architecture
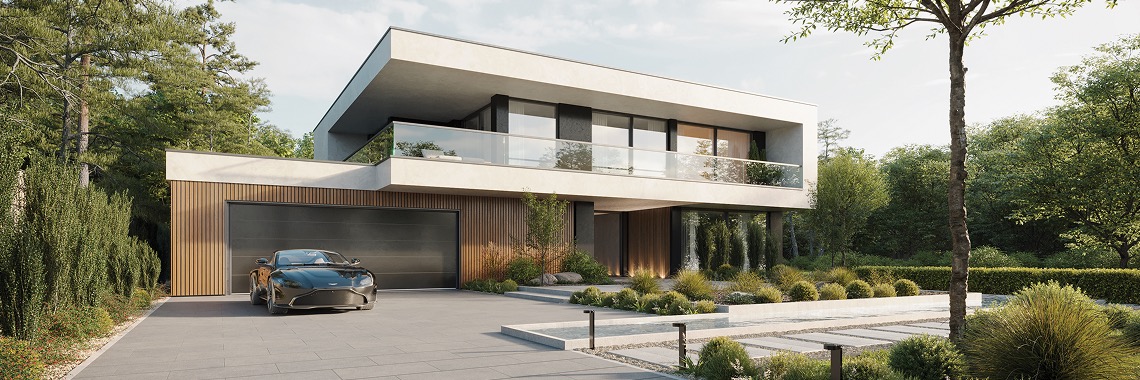
BRUK SA offers solutions to suit any architectural style. Whether you live in a classic villa, a modern block or a futuristic design, with us you will find pavers that perfectly match the character of your home.
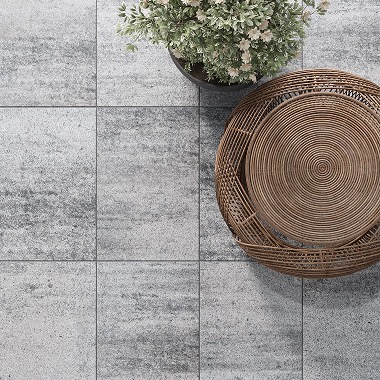
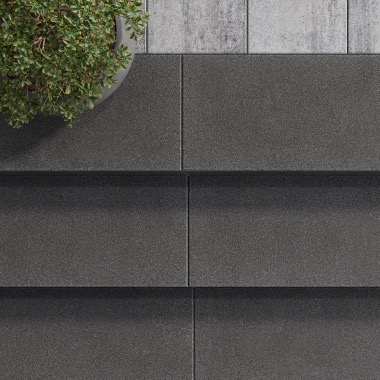
BRUK SA's color palette will satisfy even the most demanding investors. From classic GRAY and ANTHRACITE, through warm BEige, to delightful nature-inspired mélanges such as SAHARA and MALIBU. Surfaces from under the BRUK SA banner can be smooth or textured, which changes the character of the environment, but also improves anti-slip properties.
In BRUK SA's offer you can choose between practical paving blocks with a chamfer, which are great for driveways, and smooth surfaces without a chamfer, ideal for terraces, where the effect of a uniform plane is important. Finally, some collections offer a delicate microphase - a compromise between functionality and aesthetics.
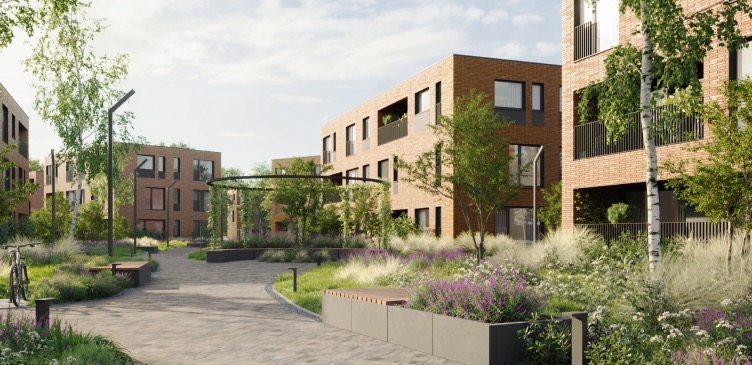
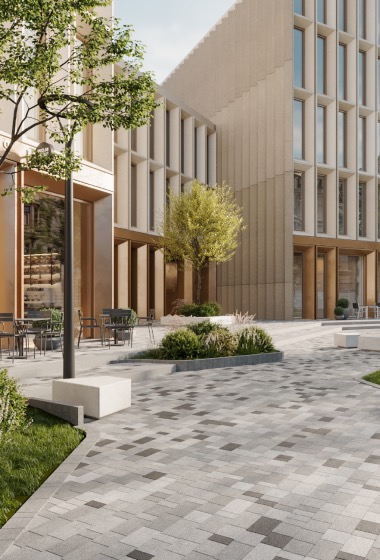
You can stick to the principle of matching the pavers to the architecture of the house, or you can consciously experiment by combining different styles. For example, an eco-friendly cube EKO perfectly matches the urban character of the collection CITY LINE.
For more information on selecting a cube, see this article.
Plan the amount of material
Some believe that due to the breadth of BRUK SA's offerings, choosing a pattern, texture and color is the most difficult stage. Well... With good news: if you have this stage behind you, now it will go downhill.
The basis of a successful investment is an accurate calculation of the amount of materials needed. Add 5-10% of allowance to the measured area for trimming and possible surprises. The allowance will also come in handy for your future, in case of possible repairs. And don't forget the materials for the substructure, grouting and finishing. Our advisors at BRUK SA Authorized Dealers will help you accurately estimate all the materials you need.
Contractor selection
If you don't feel up to laying pavers yourself - and this is indeed a task that requires experience and the right equipment - choose a proven contractor. BRUK SA's Authorized Sales Point can recommend trusted pavers in your area.
Step 2: preparing the substrate
As we have already written in our blog, the basis for a durable and aesthetically pleasing paving surface is a properly constructed substructure. It is it that ensures the stability of the structure, proper bearing capacity and proper drainage. On its quality depends on whether the paving will serve us for years, so it is worth paying special attention to this stage.
We begin the work by delineating the surface - we drive pegs and stretch strings along the planned contour at the level of the future pavement. Then we proceed to troughing, that is, we remove the layer of soil. The depth of the excavation depends on the purpose - for garden paths 10-20 cm is enough, for driveways you need 30-40 cm. The bottom should be carefully cleaned and leveled.
On such a prepared base we lay a layer of crushed aggregate 15-20 cm thick. We use ballast or glycogen with a fraction of 0-31.5 mm, taking care to ensure proper gradients for water drainage. We compact the whole thing and install curbs that extend above ground level.
The final step is to make a ballast of fine sand or cement-lime mixture, which is simply leveled without tamping. The substrate prepared in this way is ready for laying BRUK SA pavers.

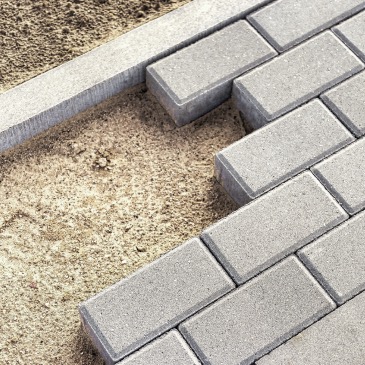
Stage 3: Laying the pavers
Do you already have a perfectly prepared substrate? Great! Now it's time for the stage when your vision will take real shape. The key to success is the right starting point. Choose a spot near a straight edge or corner - preferably where you already have curbs laid. This is your reference point from which you will carry out further work. Stretch auxiliary strings - they will be your guides in keeping the lines straight.
Laying technique
We lay the cubes "dry", that is, without gluing them to the ballast. Each piece is gently pressed and leveled with a rubber mallet. Remember to maintain adequate spacing between the cubes (2-3 mm) - this is the space for joints, which are essential for the stability of the pavement.
With BRUK SA's collections, you can create surfaces that are straight, diagonal, offset, brickwork, herringbone, and more. However, whatever pattern you choose, keep it regular. Accidental offsets can spoil the visual effect of the entire surface.
Cutting
In places near the edges or around manholes, it is usually necessary to cut the pavers. A special paving saw is needed for this. Before cutting, the paving blocks should be wet with water, and the cut pieces should be at least 1/3 the size of the entire block.
Grouting
After the entire surface is laid, the time comes for grouting: with sand, resins or polybutene. This is an extremely important stage - properly filled grout ensures the stability of the pavement and protects against the spread of weeds. Spread the grout material evenly and thoroughly mix it into the joints. After the first rainfall, the joints may settle - this is normal. Simply add more material and repeat the process.
Thickening
The final step is to compact the pavement using a vibratory compactor. This is crucial for the stability of the entire structure. Just remember to protect the plate of the compactor with a rubber mat and work evenly over the entire surface.
Final inspection
Before you consider the work completed, check:
- Surface evenness
- Ankle stability
- The correctness of the formula
- Joint filling
- Aesthetics of the finish at the edges
Remember that the first few days after laying are crucial. Avoid heavy loads then, and you may need to refill the joints after the first rain.
Stage 4: Operation and maintenance
Paving is an extremely graceful material that does not require complicated care. However, like everything in the house and garden, it needs a little attention to maintain its original charm over the years. Here's what to keep in mind.
Daily care
The basis is regular sweeping - this is the easiest way to maintain the aesthetic appearance of the pavement. Using a soft broom, remove leaves, sand and other debris on a regular basis, not allowing them to linger and penetrate the structure of the pavement. Pay special attention to hard-to-reach places near walls and in corners - this is where moisture and uninvited vegetation most often appear.
Waterproofing - effective protection
At BRUK SA, we offer paving blocks with double factory protection. If you have opted for paving blocks without manufacturer's impregnation, it is worth protecting them yourself immediately after laying. A series of professional preparations will help you do this.
Fight against dirt
Stains on your ankle? Don't panic! With a driveway where cars are parked or a terrace with a weekend barbecue, sooner or later some dirt may appear. This is normal - after all, a house and garden are supposed to be a living space, not a museum.
For regular cleaning, a pressure washer will work great. For best results, use specialized products or a homemade concoction of water, baking soda, vinegar and dish liquid. Remember not to use too strong a water jet, which could rinse out the grout. Oil or grease stains require a quick response. Pour warm water with detergent over fresh stains or sprinkle sand to absorb grease.
Start time
The road from measuring with a tape measure to the final stroke of the broom is not so difficult after all. With the right support from BRUK SA, proven contractors and quality materials, your dream driveway or terrace is closer than you think. All you need to do is take the first step. See you at an Authorized BRUK SA Sales Point!
Be inspired by beauty
Find the collection that will create the space of your dreams around your home.
COMO
Italian-style space
BLOG
Secrets to a beautiful environment, tips, trends, fun facts, and much more.
Secrets of a beautiful environment, tips, trends....
NEO
Universal style and elegance
LASTRA
Simple form rich content
ARIBA STAIRS
A step towards perfection
LIGIO
The art of combining forms
TIPS
Professional advice to help you choose the right pattern, prepare the substrate
and much more.
Expert advice to help you choose...
BARI
With Italian temperament
ENTRADA
Piękno, które zaprasza
CITY QUADRO
City to the square